|
This is the third instalment in my series describing how I create a painting. These are the steps I usually follow for full size paintings, and it may be different from your process if you paint.
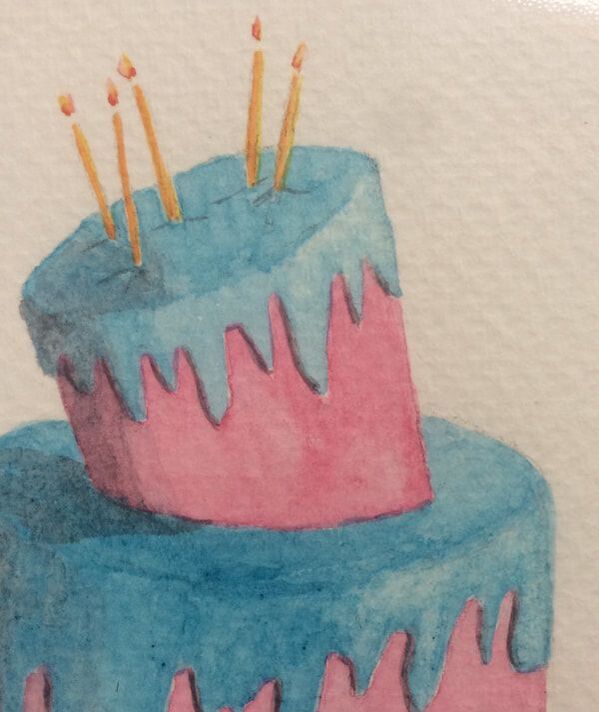
This week’s topic is: Painting in watercolor The actual painting process depends greatly on the medium used, so this week I will cover only my watercolor process, and deal with oils and pastels next week. Many painters will do one or more "studies" before attempting the real painting. Unless I will be using a technique for the first time and want to try it on a smaller scale first, I will usually just jump in and do the painting! If it doesn't work out, I will only then call it a study ;-) After the detailed pencil drawing on the watercolor paper is complete, and the masking fluid, if used, is dry (this was described in last week’s blog) I will usually sit and think about how I will paint the painting. As I have mentioned previously, watercolor is an unforgiving medium, so a few minutes developing a plan of attack is time well spent. I will contemplate what techniques I will use for what parts, what colors I will use (I may do a few swatch tests if I need to mix a color), what parts I will do first, what brushes I will need, etc. I will sometimes start with a pale wash to get rid of the white paper, except where it must stay white, of course! I usually work with the paper flat, but some watercolor artists will work on a slant, allowing gravity to pull the color down the painting. I will rotate the paper during the painting process to whatever position is easiest to paint the section I am working on. In watercolor, we paint from light to dark, so you look for the lightest colors in the image and paint those over entire areas first, for example paint an entire field with the lightest green or yellow in that field, then add layers of darker paint to slowly complete the picture. In other cases, it might be better to paint a section in darker colors and to then remove some of the paint to reveal lighter tones, like the highlights in folds of cloth. This is called ‘lifting’, and it can really help give the illusion of shape, but too much or too vigorous lifting can damage the paper and ruin a painting. Lifting can be done with a variety of tools, depending on the desired effect: a damp brush, a special scrubbing brush, a tissue or paper towel or a sponge are commonly used. It is difficult to add more color layers without creating hard lines on the edge of the new color when it dries, so lifting gets around that problem and leaves very soft edges.
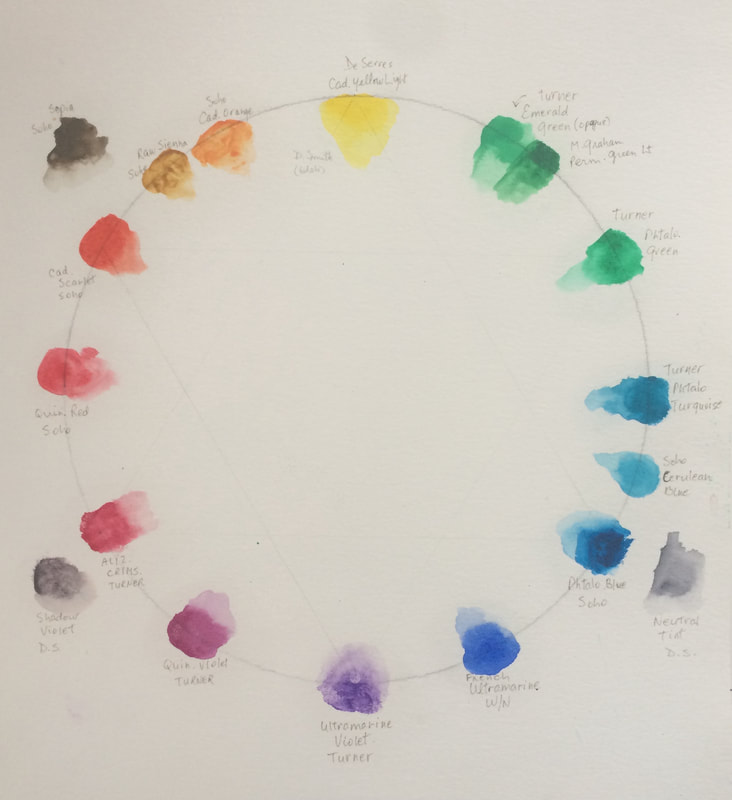
About a year ago, I adopted the color wheel suggested by painter and author Steven Quiller, which has only 12 colors (3 primaries, 3 secondaries, and 6 tertiaries). I have added a few dark colors that I use quite a bit, but all other colors, including some beautiful blacks, are achieved by mixing the 12 basic colors in varying proportions. I find this simplifies the decision making and reduces the number of paint tubes I have to buy! I have a set of dry or pan watercolors which I can take with me to my painting groups or when I travel. In the studio, I have a Quiller palette in which I use tube watercolor paint. I have a good assortment of paintbrushes, including some vintage sable hair brushes that were given to me by a painting coach I had for several years in Florida, and who sadly passed away last year. When I first started painting, I used very cheap brushes, but when I bought some good ones I was amazed at the difference it made in controlling the placement and the amount of paint the brush could carry. I paint mostly with small brushes, so the point and “springiness” of the brush are very important. I have a few ‘specialty’ brushes but mainly stick to rounds and a few flats.
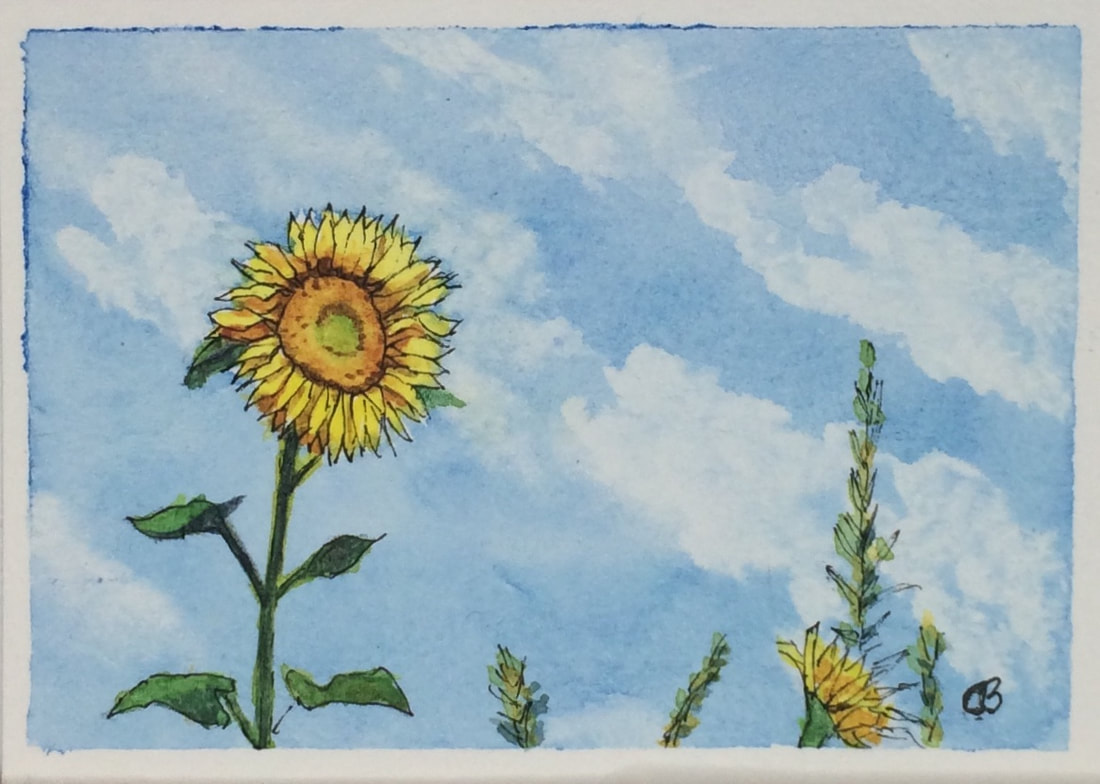
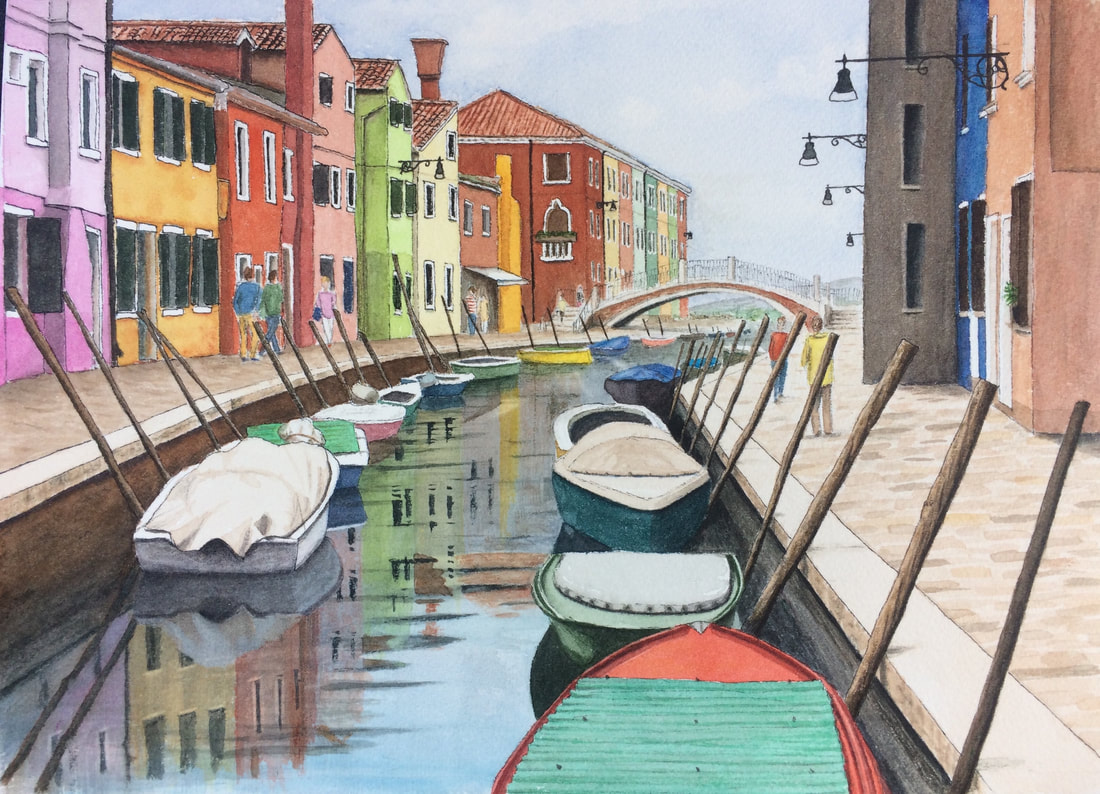
There are many techniques that can be used in watercolor. These include lifting as mentioned previously, but also charging, glazing, blending out, gradients, dry brush, scraping, scoring, etc. You can paint on dry paper or you can paint on wet paper. You can also get special effects by using salt, alcohol, plastic wrap, gauze, etc, but I don’t often use these. Watercolor paint dries fairly quickly, but can be aided with a hairdryer if needed. On the other hand, if your paint is quite wet, you can also tilt the paper to make the color run to create other effects. So, depending on the painting and on the effects desired, I will usually use a variety of techniques in one painting. Because some techniques depend on the current level of dryness of the paint, some of the decisions on which technique to use must be made before I start to paint, and in some cases once begun, they can’t be interrupted. In watercolor, failing to plan really is planning to fail! Watercolor dries quite a bit lighter than it looks when it goes on. This makes it difficult to properly judge how light or dark a color will be, especially if it is applied next to an already dry section of the painting. Experience helps here, as the color will usually look fresher if you get it right the first time rather than to have to come back and give it a “second coat”. Once the painting is complete and the paint is totally dry, I will use a rubber cement pickup tool to remove the masking fluid, then will work on the preserved white areas if needed to blend them into the painting. I may also use a razor blade to scratch some very fine white areas back, such as a cat’s whiskers or tree branches. Sometimes, I will do what is called a “pen and wash” which is a watercolor painting in which some of the lines are drawn in pen. I love the look of pen and wash, and I really don’t know why I don’t use it more often. The pen lines can be added before the watercolor, or after. If done before, it is critical to use a waterproof pen, unless you want the lines to be blurred, which can also have a nice effect. So many decisions!!
Once I am satisfied that the painting would only get worse if I kept working on it, and if I deem it a "keeper", I sign and date it, usually using a dip pen with watercolor paint in one of the dark colors used in the painting. If it isn't a keeper, I will store it with its brothers and sisters and look at it again later to remind me of what I did wrong, and if I know how, I might attempt to fix it. The actual painting stage could have taken a few hours to a few days, depending on the size and complexity of the image. But we aren’t quite done yet! In two weeks I will cover the “post-painting” steps, and next week I will describe the painting process for oils and for pastels.
0 Comments
Your comment will be posted after it is approved.
Leave a Reply. |
AuthorMy name is Claire Bureau. Archives
March 2023
Categories
All
|
 RSS Feed
