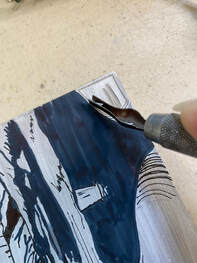
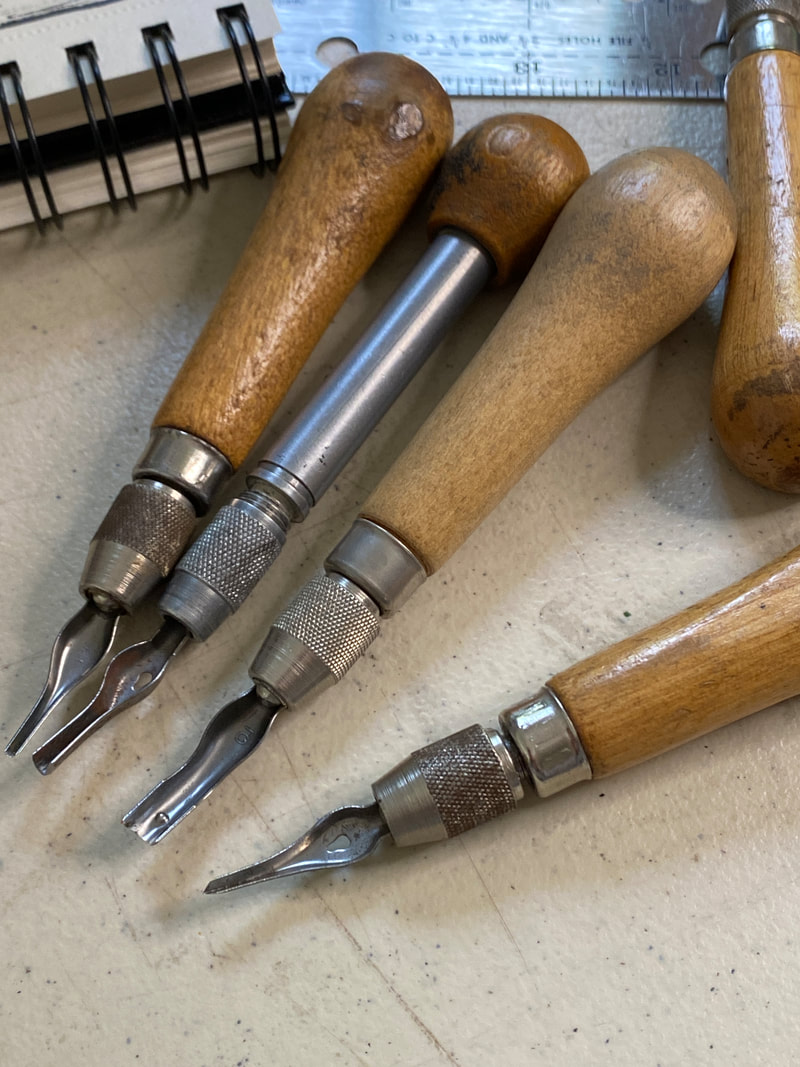
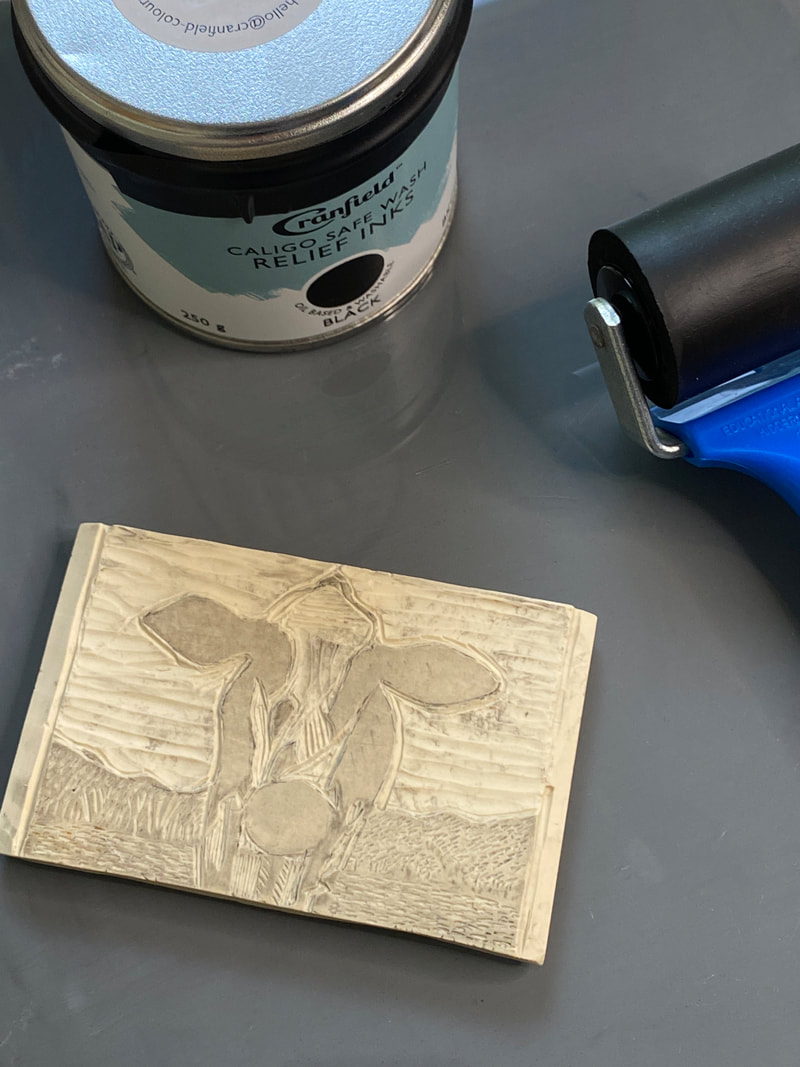
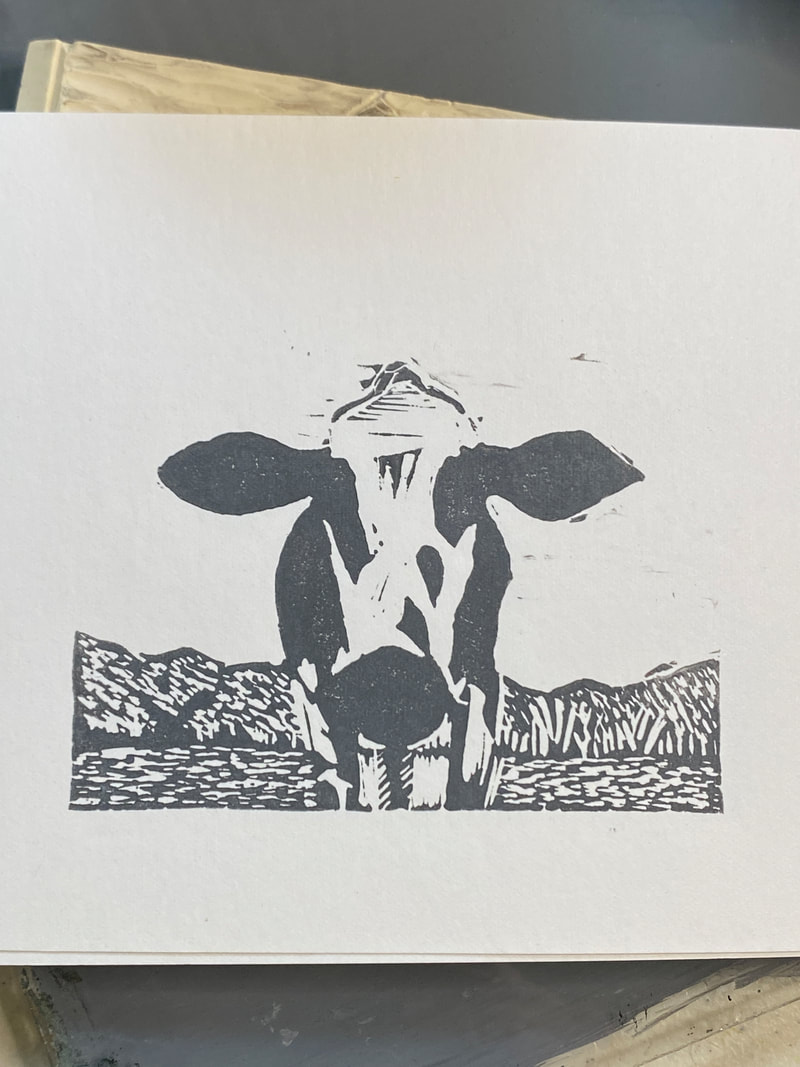
 Cutting at lino Cutting at lino Last April, I wrote in my blog that I had just discovered linocut printing, and that I was quite taken by it. I explained then in very rough terms what it was, and today, with weeks of experience under my belt, and having talked to many people -- including artists-- who had no idea what linocut printing was, I decided to give you a more thorough explanation. Linocut printing is a form of “relief” printing. This means that the relief, or “bumps”, on the printing block serve to leave an impression of an image on paper. Other forms of printing, like etching, do the opposite, that is that the ink is deposited in the grooves rather than on the raised surfaces. A design is drawn or transferred onto the surface of a block of linoleum (that’s where the name comes from) or other newer surfaces such as vinyl or rubber. Then using special cutters, the artist carefully carves out the spaces between and around the lines of the design. Whatever is left will make up the printed image. A lot of planning goes into preparing a linocut design, as there is no way to repair the block if a part is cut out by mistake. The image will print in reverse, which must be considered at the design stage, especially if lettering is involved! If the artists wants several colors or even tones in the final print, they will probably have to separate the design into several blocks that will be printed onto the same piece of paper, so these designs must match up perfectly. For example, my “Bouleaux d’été” print required two blocks, one for the background, and one for the black lines on the trees. There is another technique to get multi-color prints which is called “reduction printing”, but I haven’t tried it yet. It requires the image to be cut out in stages, printing several copies in one color at each stage. More of the block is cut away at each stage (hence the reduction), making any error a potential irrecoverable disaster. I am not quite ready for that! Once the design is cut out, the artist will do a test print to see if the block needs adjustments. For example, there may be some stray lines in blank areas that need to be cut away, or some lines may need to refined. But nothing can be put back, only removed! To get a print, special block printing ink is rolled onto a glass or other very flat surface with a roller or brayer. The goal is to cover the brayer with a thin, even layer of ink so it can be used to transfer this ink to the block. Once the block is properly inked, a sheet of paper is pressed onto it to transfer the image from the block to the paper. To ensure proper transfer and a clean crisp print, a baren or other flattish tool (including the bowl of a large spoon!) is used to rub the back of the paper. If the artist wants more prints, they re-ink the block to make each individual impression. I don't have one, but a press can also be used at this point instead of hand tools. It is actually a simple process, but a lot can go wrong! Too much ink, too little ink, not pressing enough or evenly on the paper, pressing too hard and tearing or crumpling the paper, etc. Making prints from multiple blocks is even more prone to problems! I am very much enjoying my discovery of this art form, and I hope you enjoyed this mini-lesson. There is still a lot yet for me to discover and I hope you follow me along for the ride! Suggestions for print are always welcome! I would have liked to leave you with a link to a short video that showed all the above steps, but couldn’t find any that were less than 15 minutes. But if you are interested, just search for “linocut printing” on youtube and you will find many videos, surprisingly mostly by British artists! Take your pick!
0 Comments
Your comment will be posted after it is approved.
Leave a Reply. |
AuthorMy name is Claire Bureau. Archives
March 2023
Categories
All
|
 RSS Feed
